(Without Design Skills)
Artificial intelligence has fundamentally changed how visual content is created, distributed, and monetized. In 2026, businesses, creators, and online sellers are no longer asking whether to use AI-generated visuals — they’re asking how to use them effectively and ethically.
One of the most widely adopted tools in this space is DALL·E, an AI system that turns written descriptions into original images. While many people experiment with it casually, a growing number are using it as part of legitimate digital and ecommerce business models.
This report explains:
- What AI visual products are
- Why demand is increasing
- How beginners are using them responsibly
- Common mistakes to avoid
- What separates hobby use from profitable execution
The Growing Demand for Visual Content
Every online business relies on visuals:
- Ecommerce listings
- Social media content
- Digital products
- Advertising creatives
- Branding assets
As platforms multiply, so does content demand — but traditional design workflows are slow and expensive. This gap has created a strong market for efficient, scalable visual creation, especially for small businesses and solo creators.
AI-generated visuals help fill that gap when used correctly:
- Faster production
- Lower costs
- Consistent output
- Easy iteration
However, tools alone do not create value. Application does.
What Are AI Visual Products?
AI visual products are packaged, purpose-driven image assets created using AI tools and sold as solutions — not as “art for art’s sake.”
Examples include:
- Printable wall art for specific environments
- Digital planners and journals
- Social media content templates
- Educational visuals
- Product mockups and promotional images
- Niche design bundles
The key distinction is intent.
Successful creators start with a buyer need, then use AI to meet that need efficiently.
Why Beginners Are Well-Positioned in This Market
Contrary to popular belief, beginners are not at a disadvantage.
In fact, beginners often succeed faster because:
- They focus on simple, clear problems
- They avoid overengineering
- They are willing to follow structured systems
- They build niche-specific solutions
You do not need:
- Graphic design experience
- Coding skills
- A large social following
- Expensive software
What you do need is:
- Clear positioning
- Consistent execution
- Ethical use of AI
- A product mindset
The Most Common Mistakes People Make With AI Images
Many people fail not because AI “doesn’t work,” but because they approach it incorrectly.
Common mistakes include:
- Generating random images with no end use
- Trying to sell “AI art” instead of solutions
- Competing in saturated markets without differentiation
- Ignoring branding and trust
- Relying on trends instead of fundamentals
These mistakes lead to frustration and the false belief that “AI income is a myth.”
What Actually Works in 2026
Based on real-world patterns across ecommerce, digital products, and creator economies, sustainable success comes from:
- Niche focus (specific audience, specific problem)
- Productized visuals (bundles, packs, systems)
- Clear use cases (how the buyer benefits)
- Consistent style and positioning
- Simple sales infrastructure
- Long-term brand thinking
AI is most effective when it’s treated as infrastructure, not a shortcut.
The Long-Term Opportunity
AI tools will continue to evolve. What will matter more over time is:
- Judgment
- Taste
- Ethics
- Brand trust
- Systems that compound
People who build skills and frameworks, rather than chasing quick wins, are far better positioned for long-term income.
A Structured Way to Learn This Properly
Many people ask:
“Where do I actually learn how to do this step by step?”
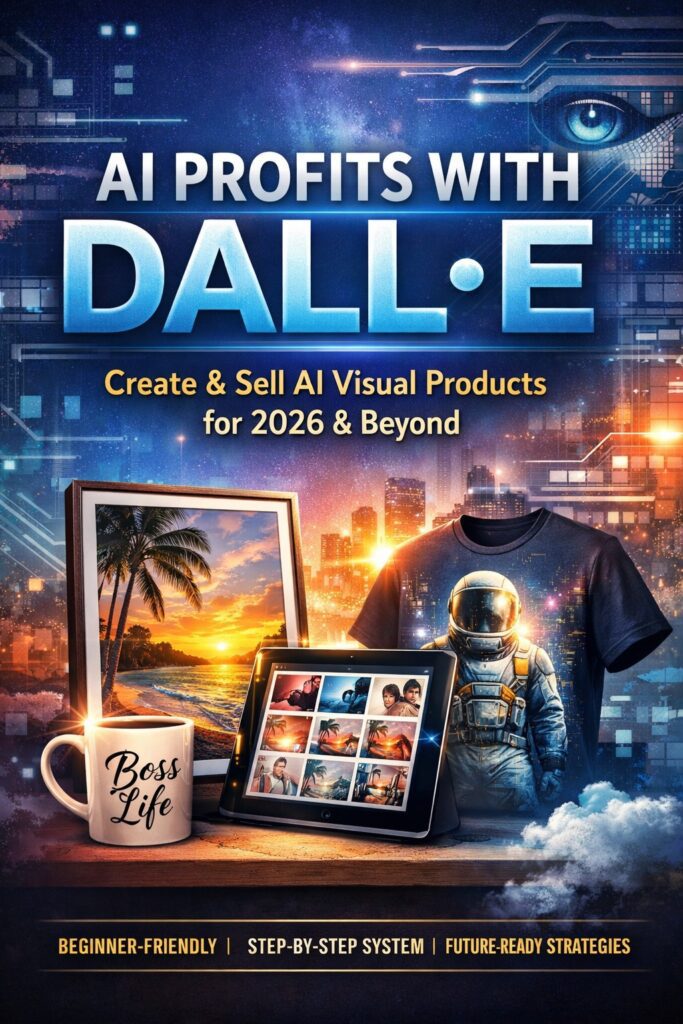
That’s exactly why the ebook course
“DALL·E for Profit™ – Create & Sell AI Visual Products for 2026 & Beyond”
was created.
Instead of focusing on tools or hype, the course teaches:
- How AI image creation actually works (beginner-friendly)
- How to generate consistent, usable visuals
- How to turn images into real products
- How to sell ethically and professionally
- How to scale without burnout
- How to future-proof an AI-based business
It’s designed for absolute beginners, with no assumptions or technical overload.
Who the Course Is For
This course is ideal if you:
- Want to use AI practically, not experimentally
- Are interested in digital products or ecommerce
- Prefer step-by-step systems
- Want long-term skills, not quick hacks
- Care about doing things the right way
It is not positioned as a “get rich quick” product.
It is positioned as a skill-building asset.
Final Thought
AI is not replacing creativity.
It is changing how creativity is executed.
Those who learn how to direct AI with clarity, ethics, and purpose will have an advantage — not because they use a tool, but because they understand how to apply it correctly.
If you want a structured, beginner-friendly roadmap to doing exactly that,
DALL·E for Profit™ was built to guide you step by step.